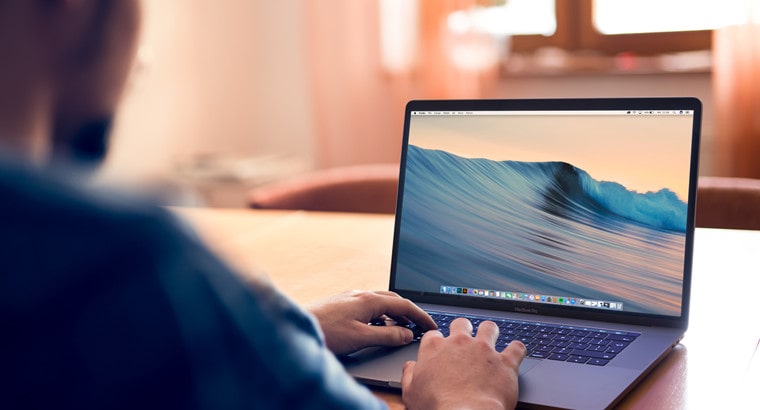
MacBooks are more popular than ever before, but it can be a lot of adjustment for those switching from Windows to the Apple ecosystem. This guide teaches the tips and tricks to master using your Mac in no time.
Become a Pro at Taking Screenshots
Knowing how to take a shortcut quickly is the need of the hour, especially for remote working teams. Collaboration is easier and enhanced with screenshots.
Mac users can grab a specific screen part using the keyboard short Command + Shift + 4. Then, click and drag the crosshair over the screen part you wish to capture. Share it with your colleagues or friends.
Want to screenshot the entire screen? Press Command + Shift + 3.
Rename Files in Batches
Renaming files is a time-consuming task. Suppose you have to rename a hundred birthday pictures in one sitting. It will be torturous!
Luckily, Mac allows you to rename files in bulk. So you can complete the task with a simple action. Here’s how.
• Choose all the files you wish to rename and Control + click them.
• Click Rename.
• Choose Replace Text, and all the files will be replaced with the text you have entered.
Reset password
With dozens of passwords, it is normal to forget a few. But it can be a disaster if you have forgotten your Mac password. You will be locked out.
You can recover the password via Recovery Mode.
• Switch off your computer.
• Press the power button + Command + R (on intel-based Macs) or press and hold the power button (on M1 Macs).
• While your system boots to recovery, wait for the loading bar to appear.
From Recovery Mode, you can reset your Mac password by:
• Accessing Utilities in the Apple Menu.
• Selecting Terminal.
• Typing reset password and clicking Return.
• Go to the main drive and choose your user account.
• Changing your Mac password and creating a password hint that you will easily remember in the future.
• Restart your system to use the new password.
So, that’s how to change a Mac password from the Recovery Mode. You can also reset your password with your Apple ID.
Make the Dock Invisible
Don’t let the Dock take up a considerable portion of your screen. Hide the Dock to get more usable vertical space to work with. If there’s more space on the screen, it means less scrolling.
To hide the Dock, follow these steps:
• Click on the Apple Icon.
• Choose System Preferences.
• Select Dock.
• Check the Automatically hide and show the Dock option.
If you uncheck this box, the Dock will reappear on your screen.
Open Finder using a Shortcut
Do you waste a lot of time going to the Dock to open Finder? You will be glad to know there’s a simple way to launch Finder. Press Command + Option + Space, and the key combo will open the search dialog for Finder.
Then, you can click anywhere as you usually would.
Run Windows on your Mac Computer
Do you miss the Windows operating system? It is surprisingly easy to run Windows on your Mac computer.
On your Mac, go to the Applications folder and click Utilities. Within this folder, you will find a program called Boot Camp.
Boot Camp will partition your hard drive to split between macOS and Windows. Choose how to split the ratio but know that storage allocated to one operating system is inaccessible by the other. Then, start the process by clicking Partition.
After restarting, your Mac will ask for a Windows installation CD. You have to choose the partitioned section where you wish to install Windows. Once the installation process is complete, you have to restart your Mac.
From there, whenever you switch on your machine, hold down the Option key, and you can choose between macOS or Windows. However, if you wish to switch, you must restart your system each time.
Sign your Documents on your Mac
Do you need to return official documents sent to you digitally? Everyone knows how tedious the process can be if you have to download the documents, print them, sign and scan them to send them back to the sender.
What if there was a better way to sign your documents?
Open the document within the Preview app on your Mac and click the pen icon > the Signature icon. You will get the option of signing using the trackpad or camera.
You must sign on paper and click Camera to sign using the camera. Hold the piece of paper to your Mac’s webcam and let it capture the signature. When you’re happy with it, click Done.
For signing the document, click the Signature icon again and choose the signature you want to use. Then, insert it into the document and email it to the sender.
Conclusion
It may take you years to fully master the features of your Mac system, but these tricks will help speed up the process. Keep these in mind to optimally use your machine and get the most out of it.


